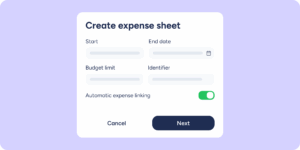
We continue to strengthen our Expense control tool to expand your company’s capabilities and optimize effective, cross-functional management of all employee expense activity.
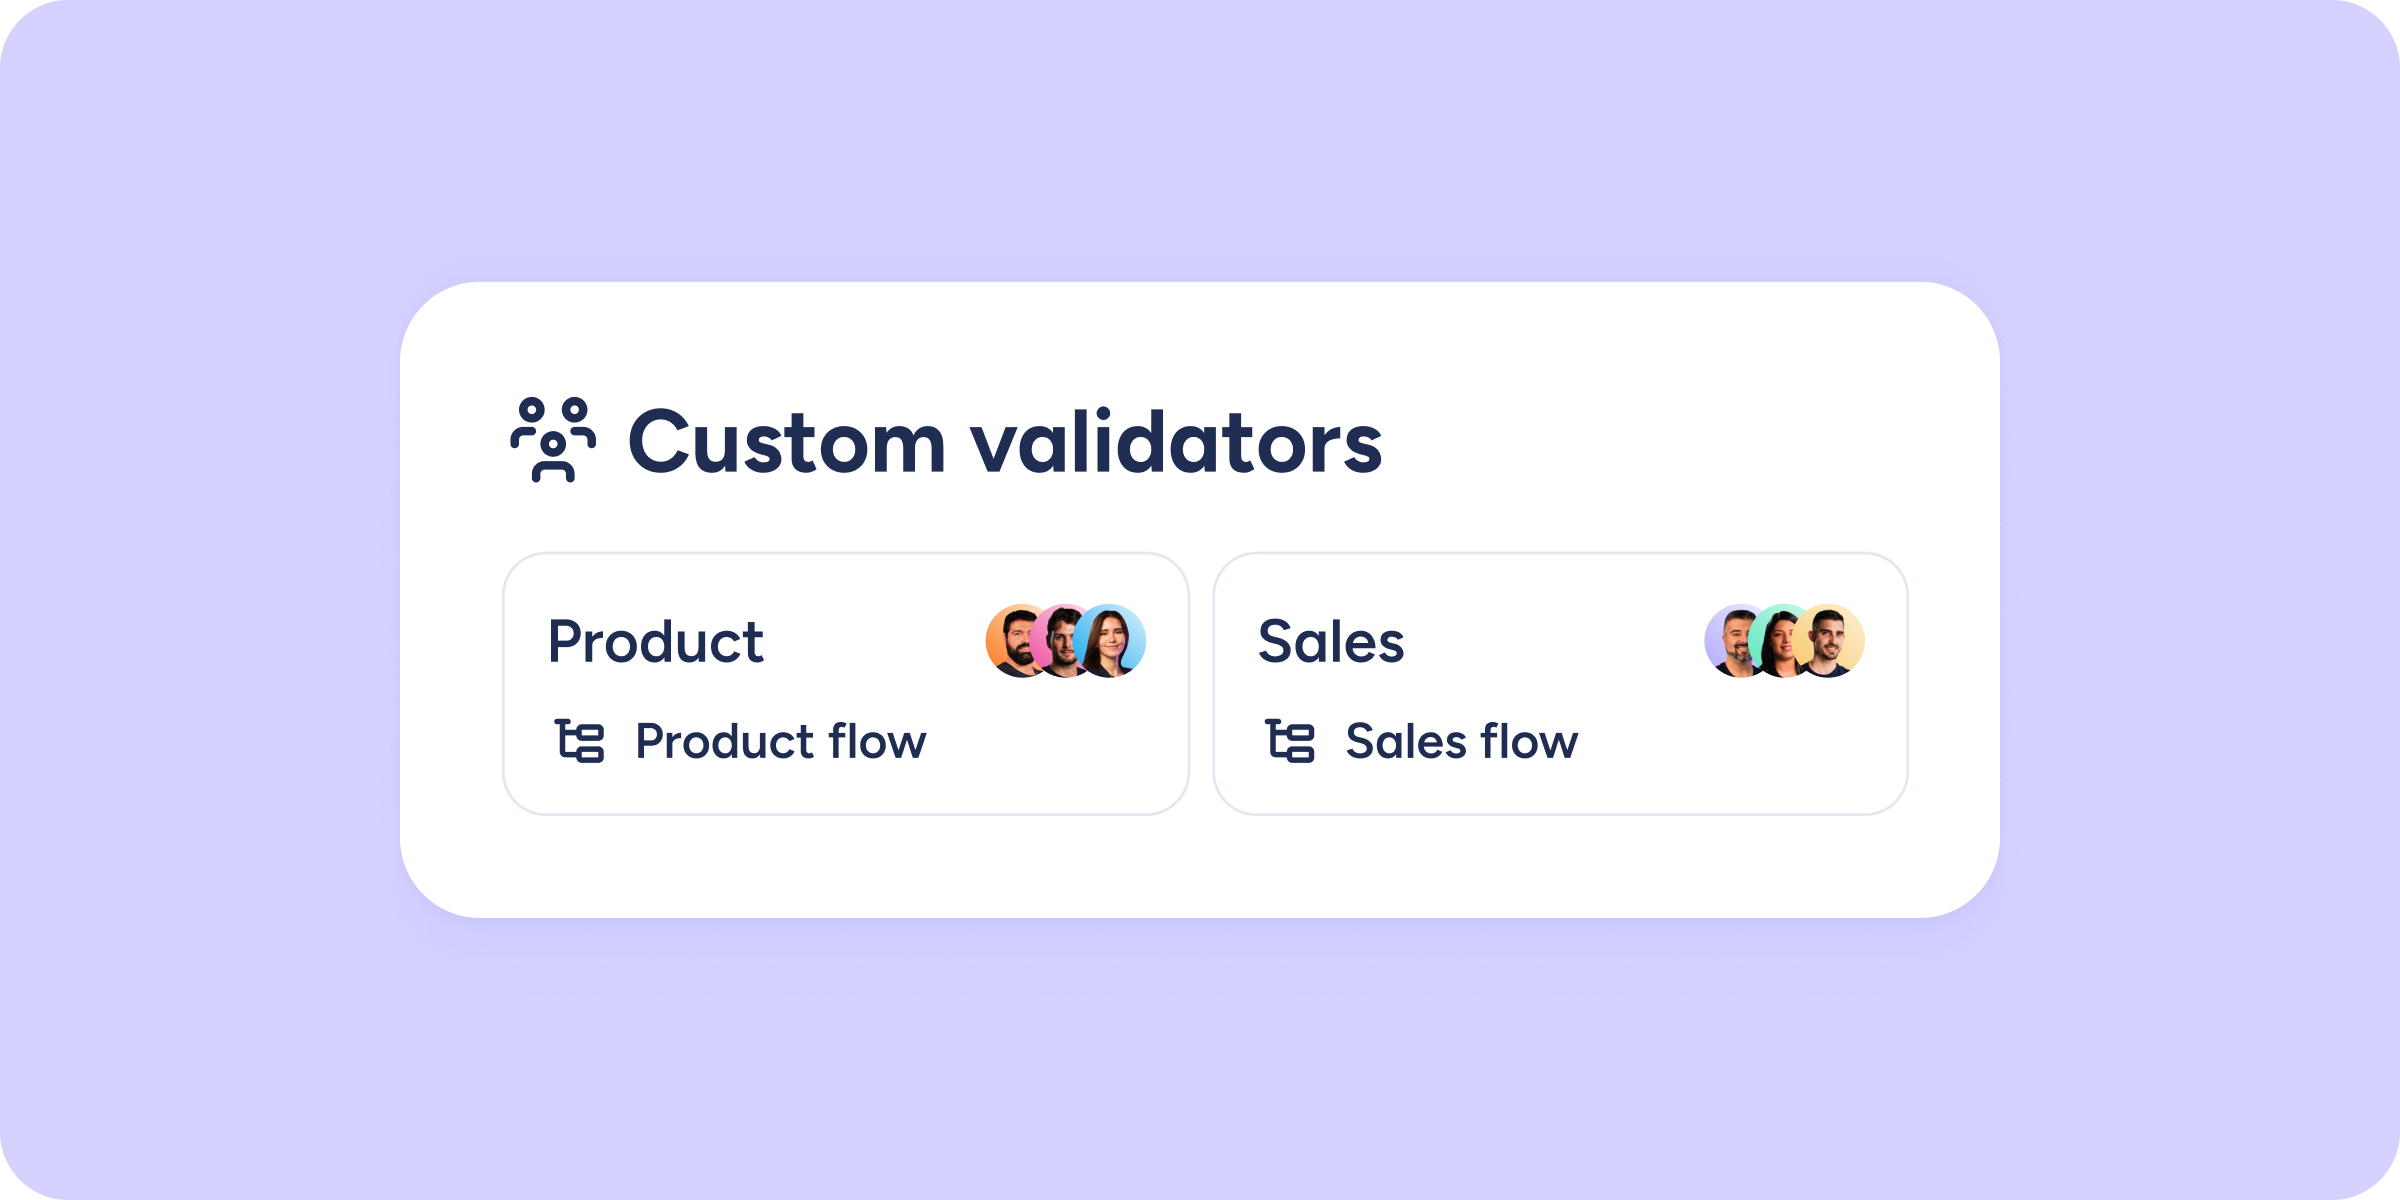
This time, we’re introducing a new configuration related to expense validators, allowing you to set up different approval levels until expenses ultimately reach the finance department. This way, you can more precisely decide who will approve expenses for each department and define the exact order of validators required to complete the final validation.
First, you’ll need to create teams, and for each team, assign users and approval workflows. This means that every time users assigned to a team submit an expense, that expense will go through the defined approval flow before being finally approved.
From Expense control >> Configuration >> Validators >> Custom validators >> Create team, you’ll access a new view where you can name the team and assign users by clicking Add users. Select the employees who will belong to that team. You can also assign an employee to a team from the Users view, using the dropdown menu that appears when you click the three-dot menu next to each user.
Once you’ve finished assigning employees to their respective teams, you’ll need to define the approval workflows. Let’s see how.
When you click Create or edit approval flows, you’ll be redirected to the Approval flows section within Sesame’s Automations. From there, click Create to access the Custom request view, where you’ll define the approval flow you want for your custom validation process. Once completed, confirm the action. Expenses will then move through the approval levels defined by the team validators’ workflow first, and then by the company validators’ workflow, until they are fully approved.
This way, you ensure that all company expenses are reviewed sequentially by the right people, helping you avoid errors or issues by keeping everything under control. Let’s get started!