Until now, managing expenses across multiple events or initiatives at once could feel like piecing together a puzzle. With the new Expense sheets tool inside the Expense control module, it’s now much easier and more structured for your team to log expenses in the right place, for each expense sheet.
What’s new?
- Events or initiatives with a set budget: create an expense sheet, define your spending limit, and get a complete real-time overview. No parallel spreadsheets, no surprises at month-end.
- Employee assignment: add the people working on each expense sheet so they can link their expenses directly.
- Automatic expense linking: enable the toggle and expenses from assigned employees are automatically assigned to that specific expense sheet.
- Expense allocation choice: each employee can choose which expense sheet to log their expenses against.
- Mobile visibility (employees): employees can check their active expense sheets and remaining budget directly from the app.
How does it work?
If you’re an administrator:
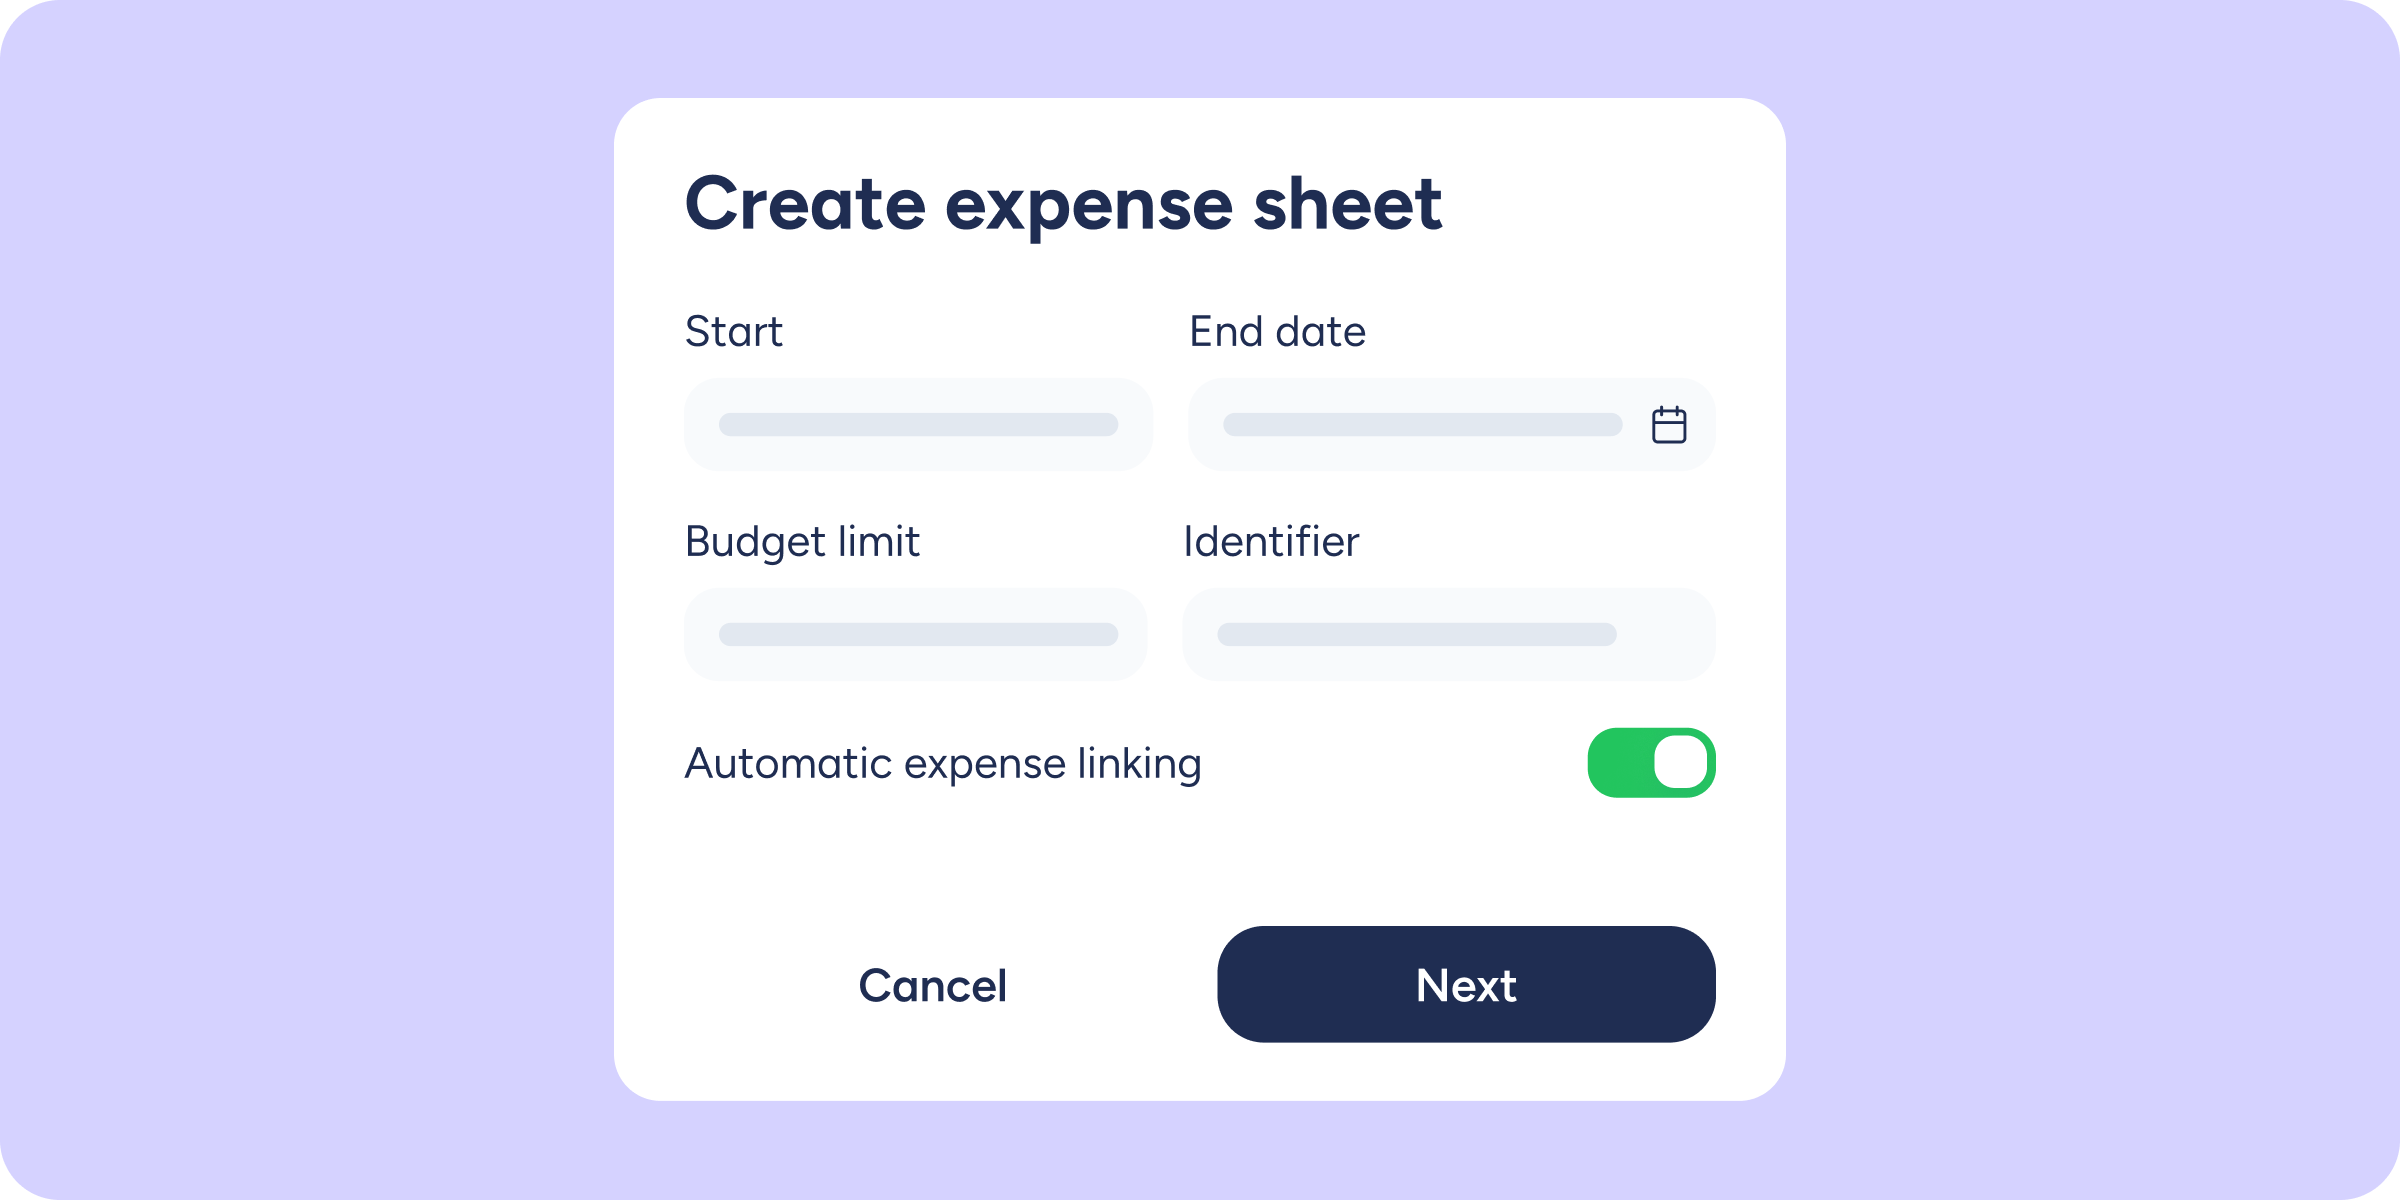
- Go to Expense control >> Expense sheets.
- Create a new expense sheet, assign it a code, and set a start and end date. Expenses will be stored and not validated until the end date is reached. Set a budget, too, but bear in mind this figure is not a hard cap, just a reference. It can always be exceeded.
- Choose whether to enable automatic linking or manage expenses manually.
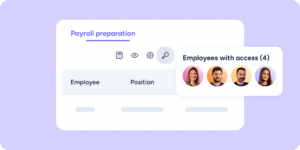
- Assign the employees who will take part in that expense sheet.
- Expenses are validated from ‘My validations’. From this section, you can see which expense sheet each expense is assigned to.
If you’re an employee:
- Open the Sesame HR app.
- In the Expenses module, check your active expense sheets and available budget.
- When logging an expense, link it to the relevant expense sheet (if automatic linking is not enabled).
Where can I find it? Expense control >> Expense sheets.